How It Works
During Implementation
During Implementation
Track ad hoc requests in one centralized location:
- Custom configuration requests
- Knowledge base upload requests
- Integration setup needs
Post-Implementation
Post-Implementation
Submit ongoing requests for collaboration:
- Product enhancement or new feature requests
- Training simulation requests (new or modifications)
- Report or data requests
- User management assistance
Accessing Tickets
Navigate to the Tickets tab to view and manage requests.- Creating a Ticket
- Managing Tickets
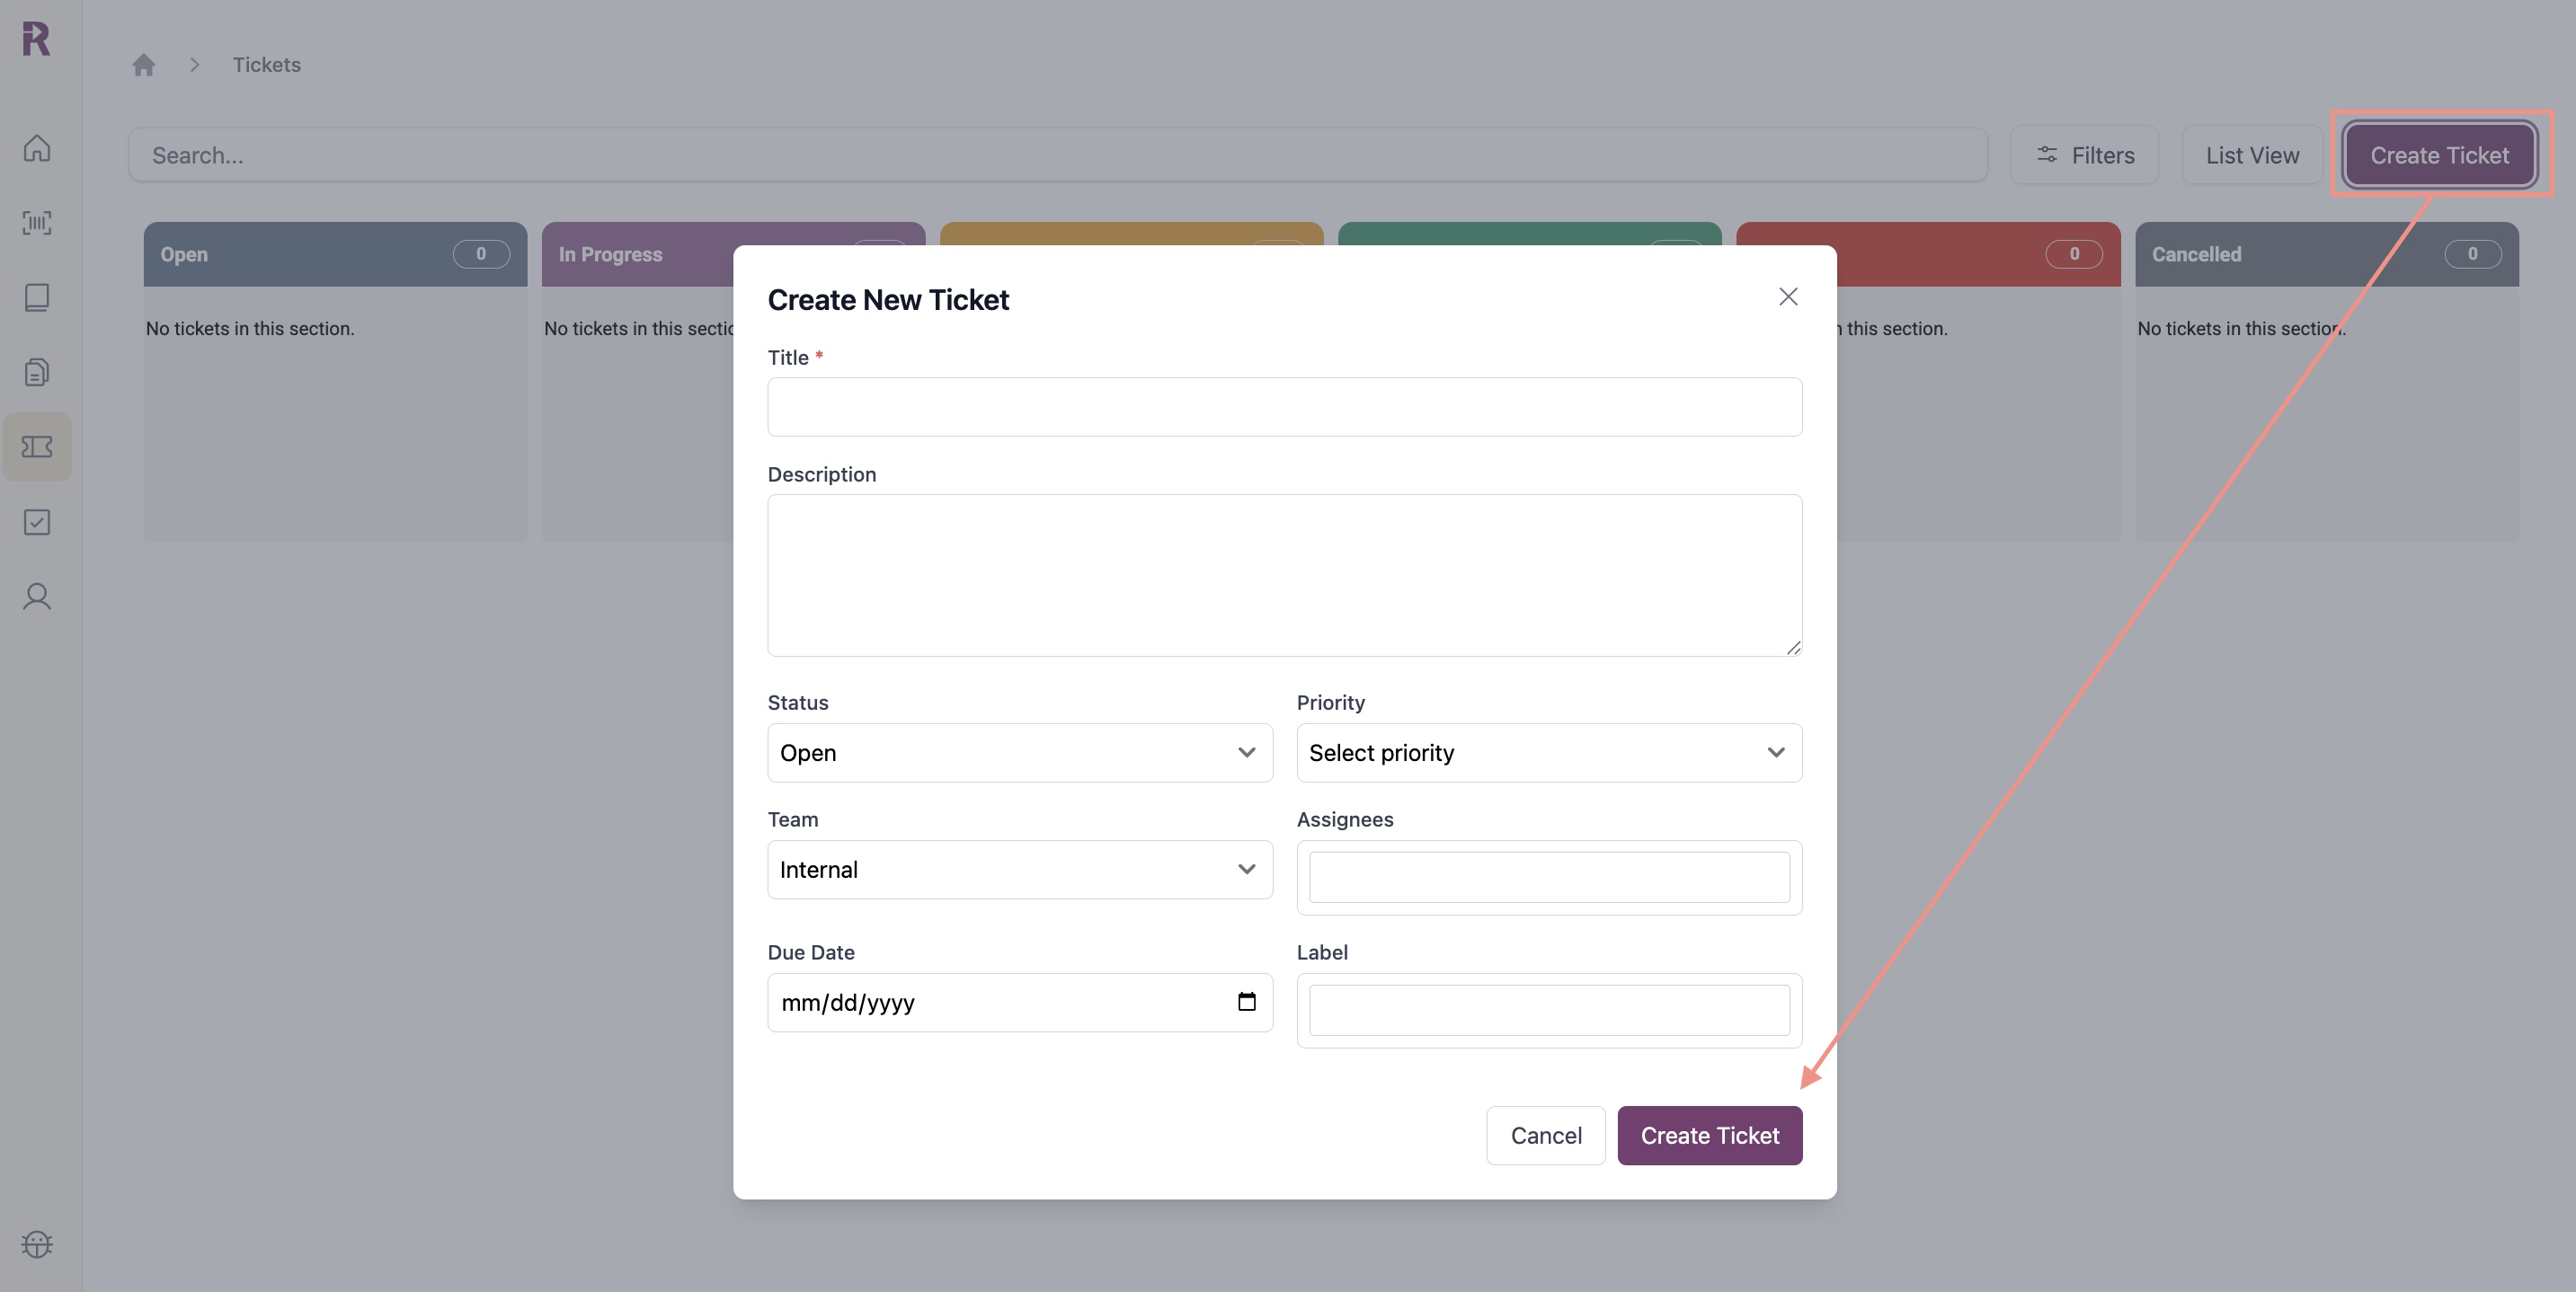
Add Details
- Title: Brief, descriptive summary (required)
- Description: Detailed explanation of request or issue
- Labels: Categorize using recommended labels
Recommended Labels
Recommended Labels
- Feature Request - New capabilities or improvements
- Data Request - Exports, historical data, or custom reports
- QA - QA setup, scoring, or feedback
- Training Sim Update - Updates to existing simulations
- Training New Sim Request - New simulation creation
- User Management - Role changes, permissions, or new user setup
- Custom Config Request - Client-specific configurations or workflows
- Status: Open, In Progress, In Review, Blocked, Done
- Priority: Low, Medium, High, Critical
- Due Date: Target completion date
- Team: Internal or Reddy
Team Details
Team Details
- If the task requires action from your organization, select Internal and assign the ticket to a team member
- If the task requires Reddy support, select Reddy
- Assignees: Team members assigned to the ticket
Assignee Details
Assignee Details
Internal Team: Assign the ticket to one or more people within your organization. They will receive a notification in Reddy’s notification panel. Only individuals with active Reddy accounts will appear in the assignee dropdown.Reddy Team: The assignee field is disabled. Your Reddy Project Manager will review and assign the ticket to the appropriate Reddy team member.
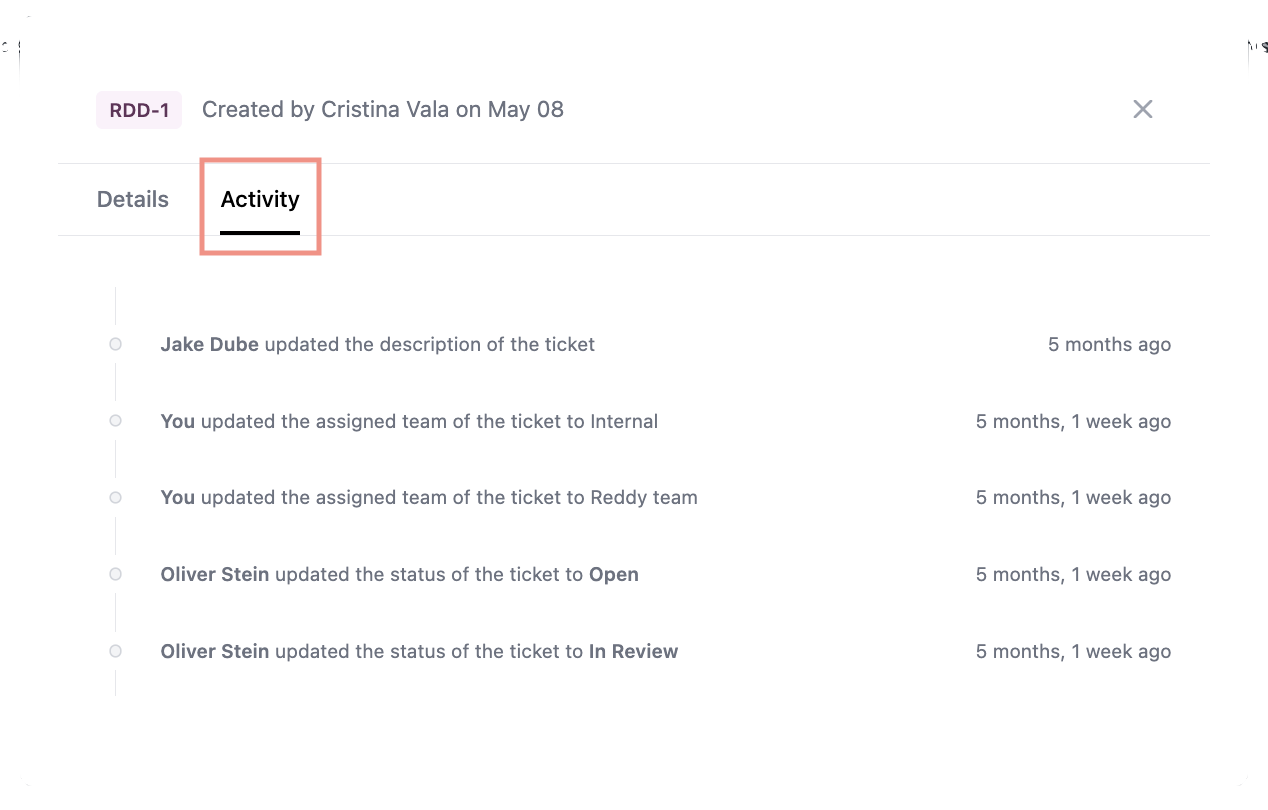
Notifications
You’ll receive notifications when:- A ticket is assigned to you
- Status changes on your tickets
- Team members are assigned