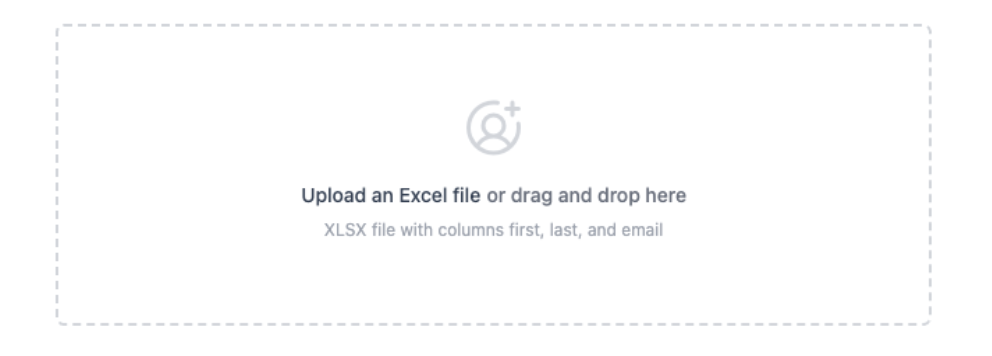
Reddy is rolling out a new roster-based Employees experience. If your Employees page shows an Actions menu in the top right, use the Roster tab below. If you still see the ”+ Add employees” upload box on the page itself, use the Legacy tab.
- Roster
- Legacy
All adding starts from the Actions menu on the Employees page.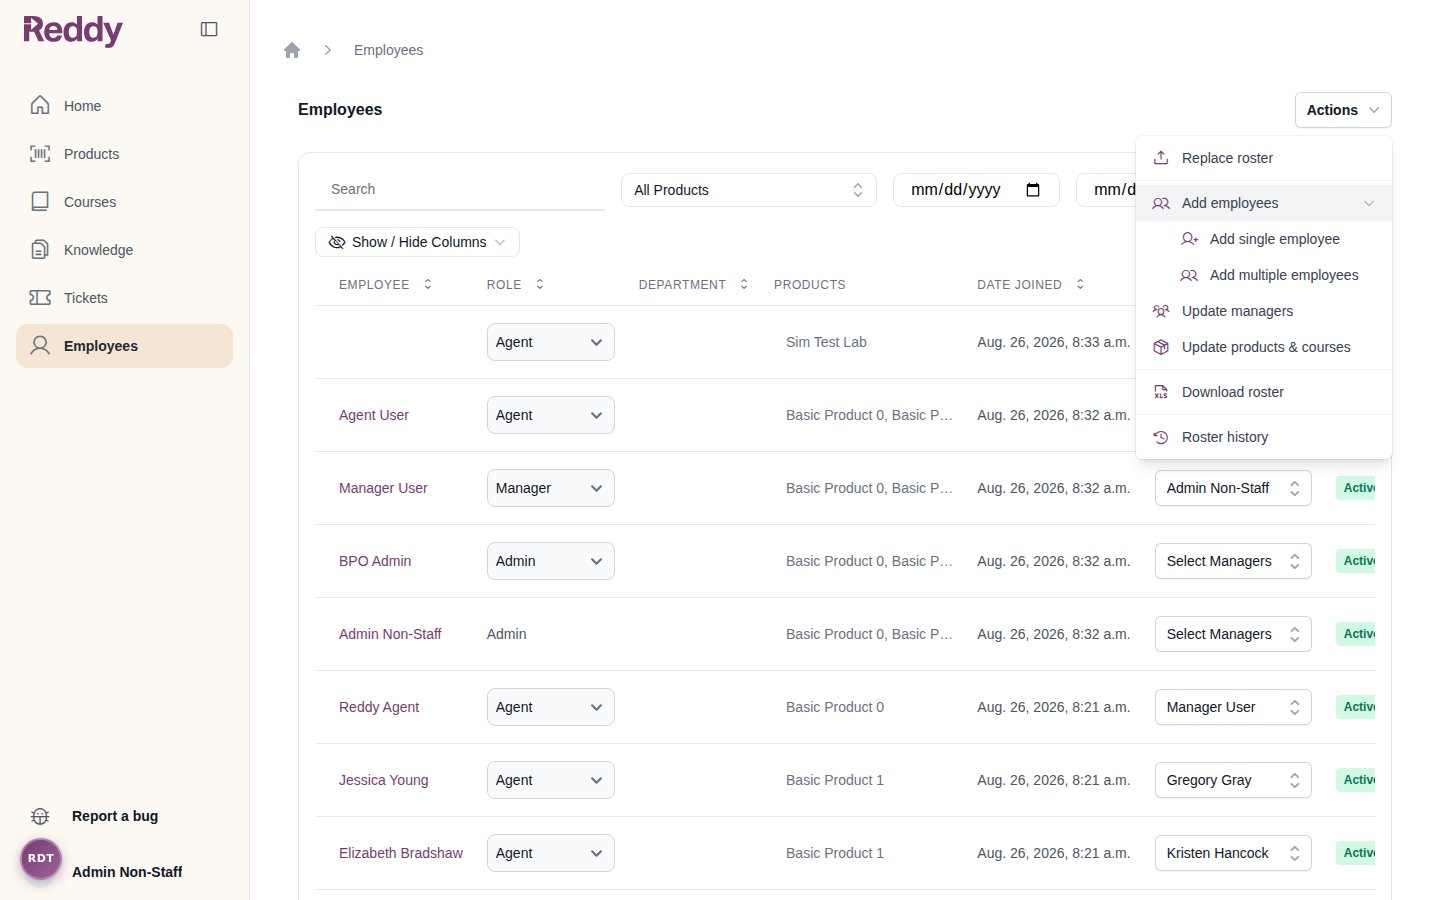
Add a Single Employee
1
Open the form
Click Employees in the left navigation, then Actions -> Add employees -> Add single employee.
2
Fill in their details
Enter their email and name, then pick departments, role, products, courses, and managers.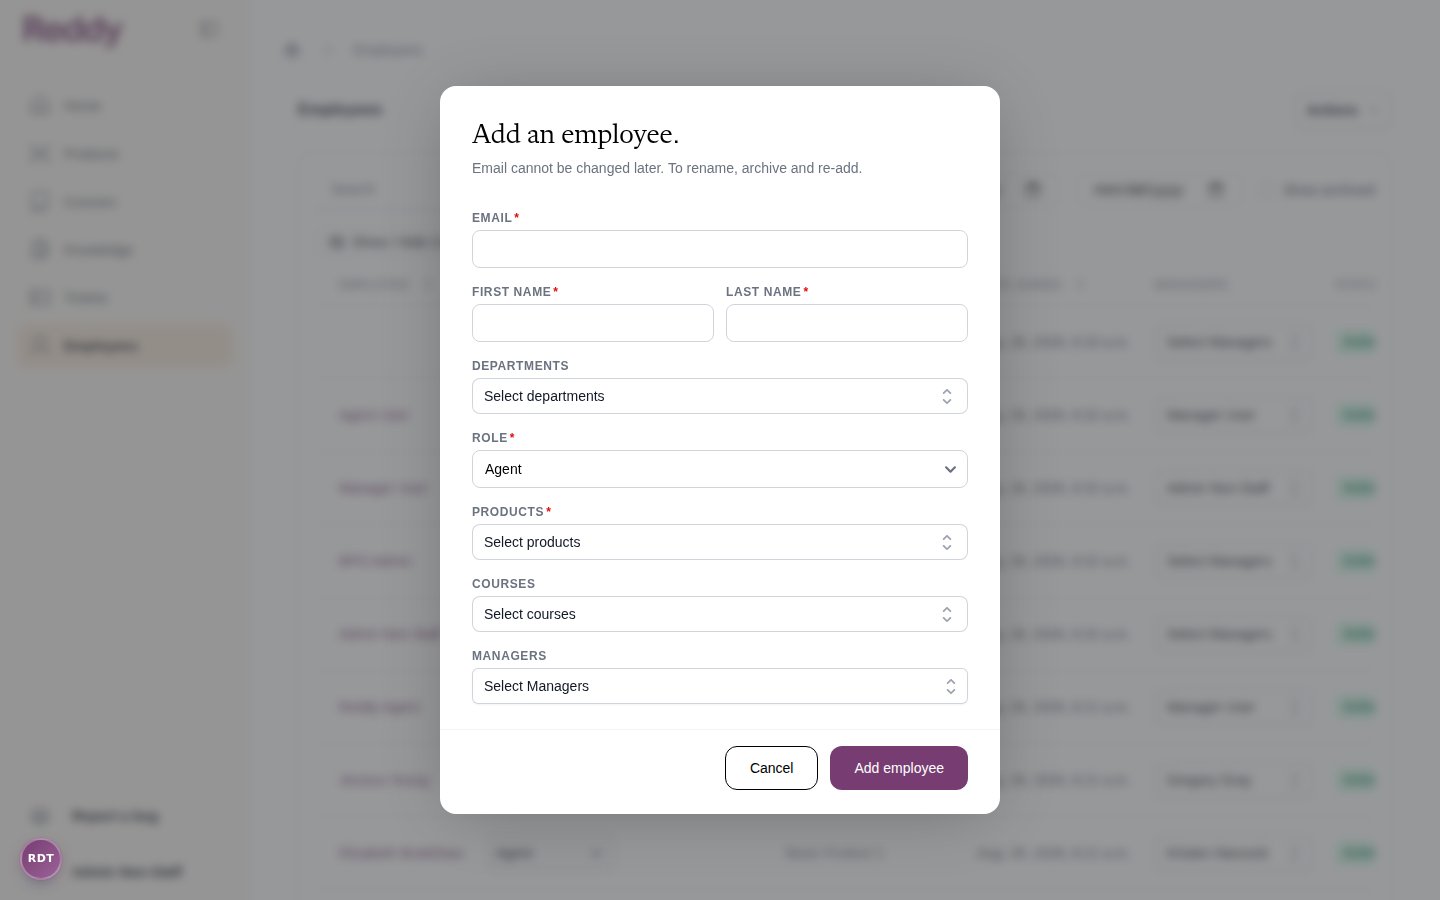
Agents must be assigned at least one product. Products give access to a line of business; courses assign training separately. Product-specific courses appear after you select the matching product.
3
Save
Click Add employee. The new person appears in the employees table immediately.
Add Multiple Employees
For a batch of new hires, upload a spreadsheet instead:1
Open the upload flow
Click Actions -> Add employees -> Add multiple employees.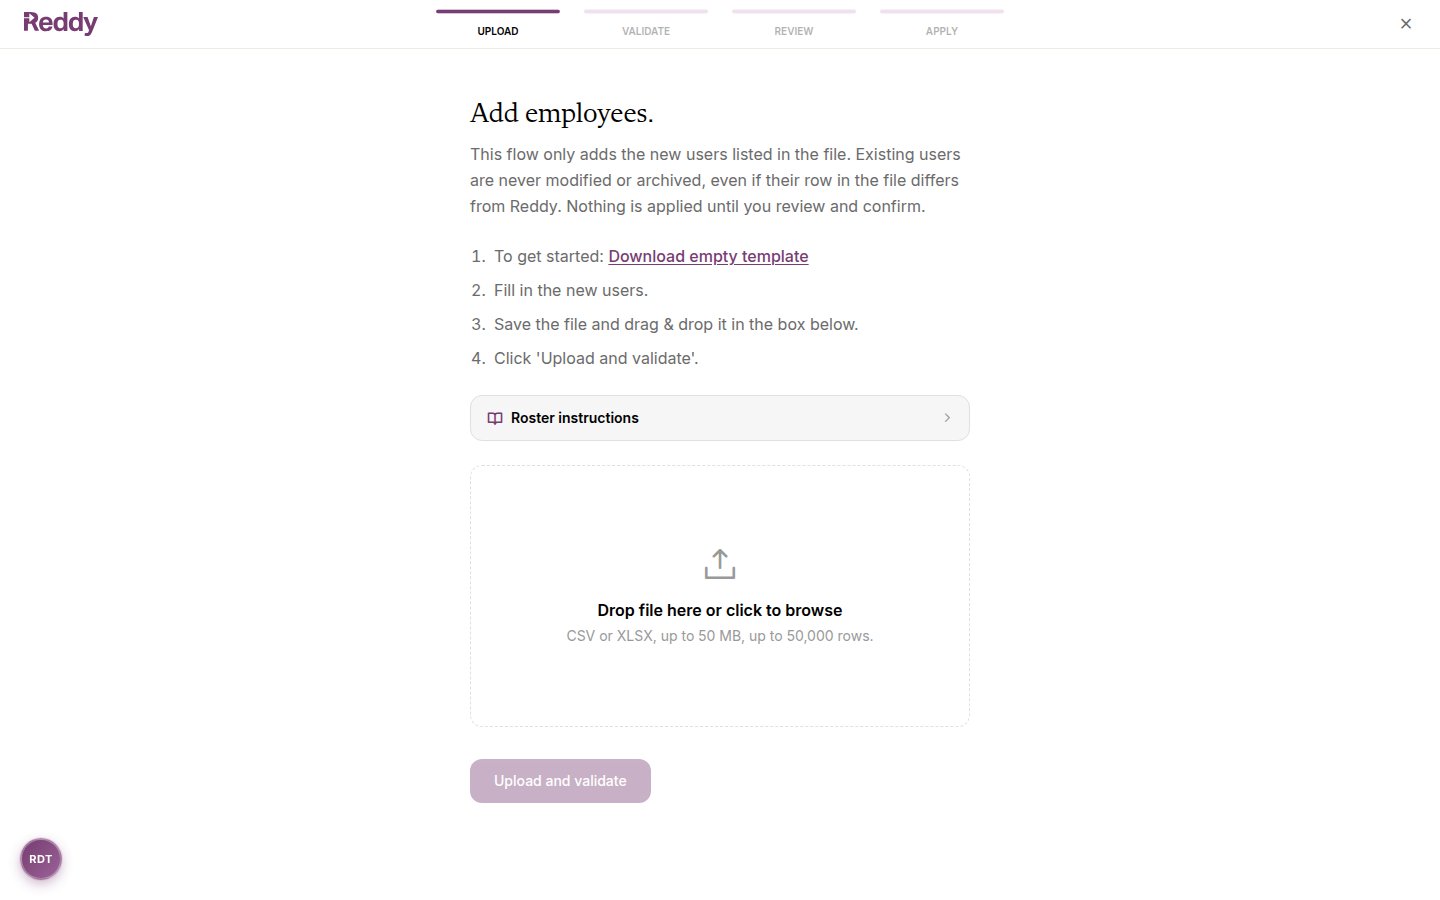
2
Download the template and fill in the new hires
Click Download empty template and add one row per new employee: email, name, department, role, manager email, products, and (optionally) courses.
3
Upload and validate
Drag the file into the box and click Upload and validate. Reddy checks every row and lists anything to fix before any account is created.
4
Review and confirm
Check the preview of the accounts that will be created, then click Confirm and apply.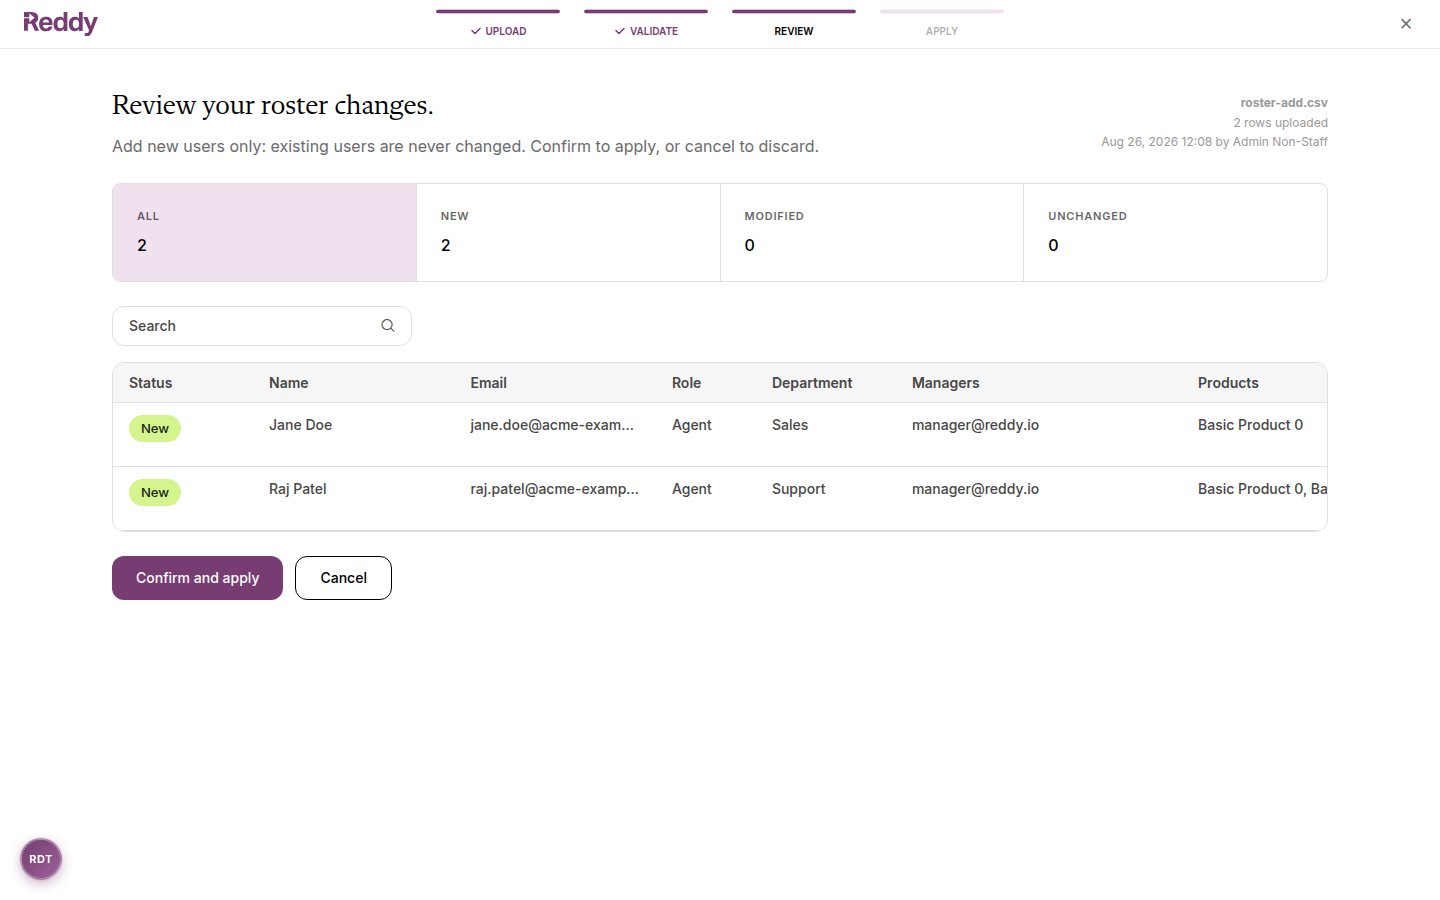
This flow only ever adds people. Existing employees are never modified or archived, even if their row in your file differs from Reddy. For a full sync that also updates and removes people, see Roster Uploads.